How to Build an NFT Activity Feed using GraphQL
September 12, 2023
Basement simplifies NFT data access by providing a standardized API interface across networks.
Accessing data in the context of building a dApp becomes an issue as NFTs need to be indexed individually, due to the significant volume of data that needs to be processed this is quite challenging.
In this article, we will walk you through the process of creating an NFT activity feed using Basement’s GraphQL API.
What We’re Building
In this article, we’ll build activity-feed, an NFT activity feed on the Ethereum mainnet. You’ll be able to monitor onchain activity for NFTs using GraphQL, First we will pick a live collection and index data and display that to the frontend like on OpenSea.
Here’s a preview of what the final project will look like
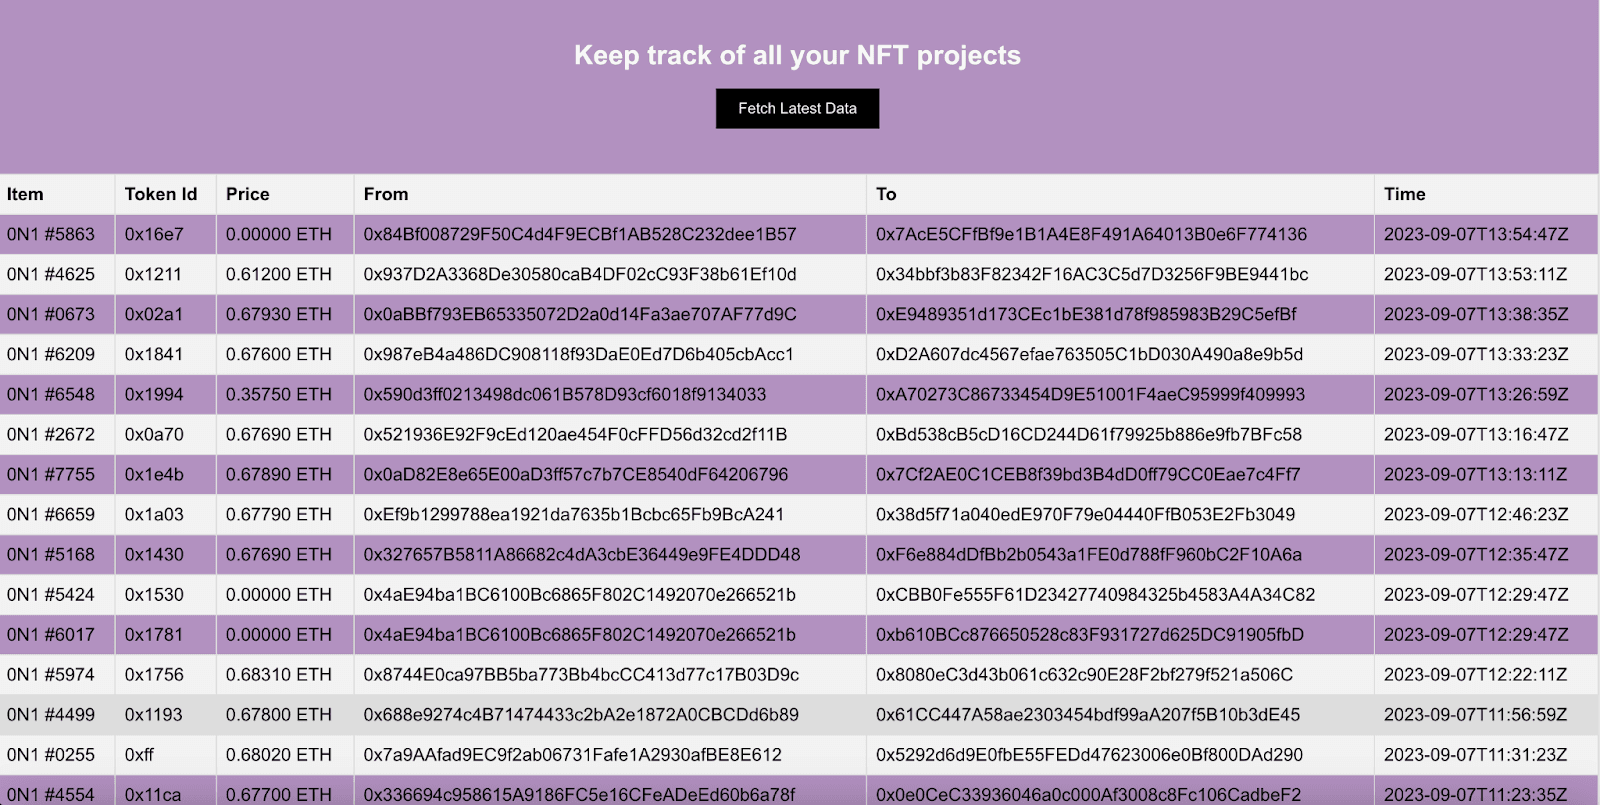
The app will have a button that allows for onchain updates of activity of the NFT collection, allowing us to monitor ERC-721 transfer transactions occurring onchain along with the price in ETH and time of the transaction.
Prerequisites
You will need the following for this tutorial:
NodeJs is installed (version 18)
NPM package installed (version 8)
Basic knowledge of GraphQL, React.js, and Apollo Client
Let's dig in!
Step 1: Signing up for a free Basement Account
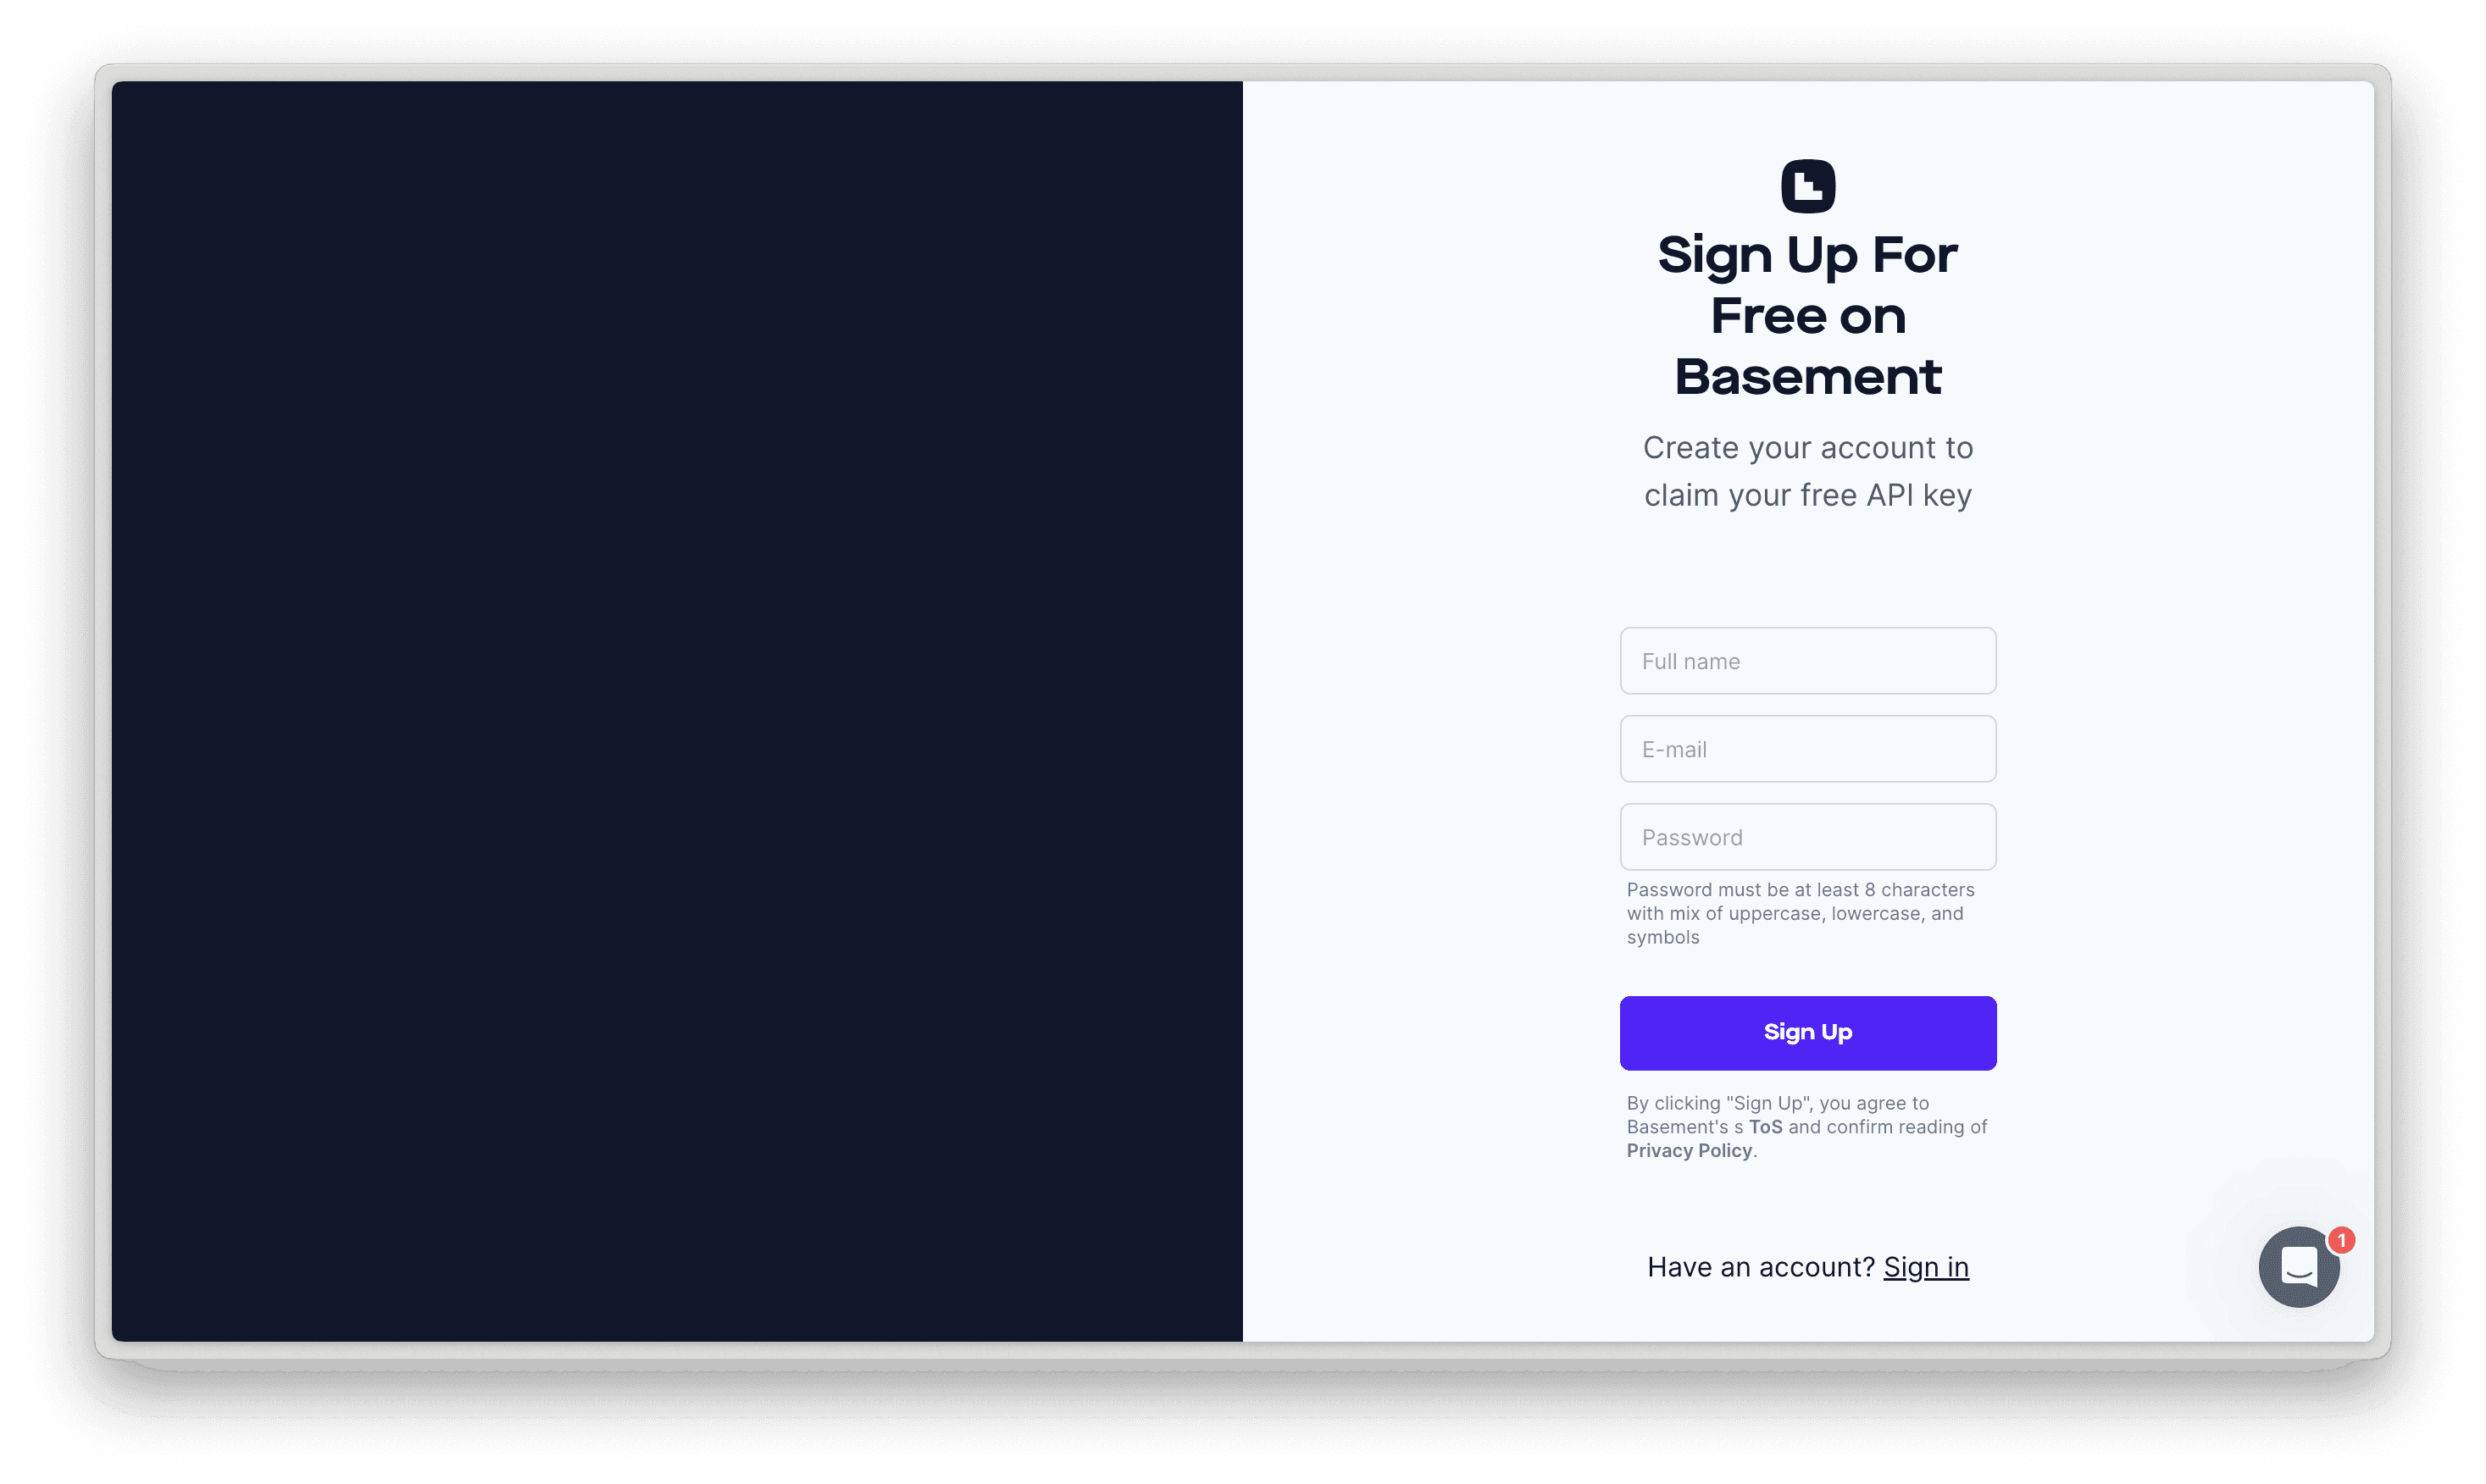
You have to sign into your Basement developer account, which you can create here. After creating an account, you should see a dashboard similar to this:
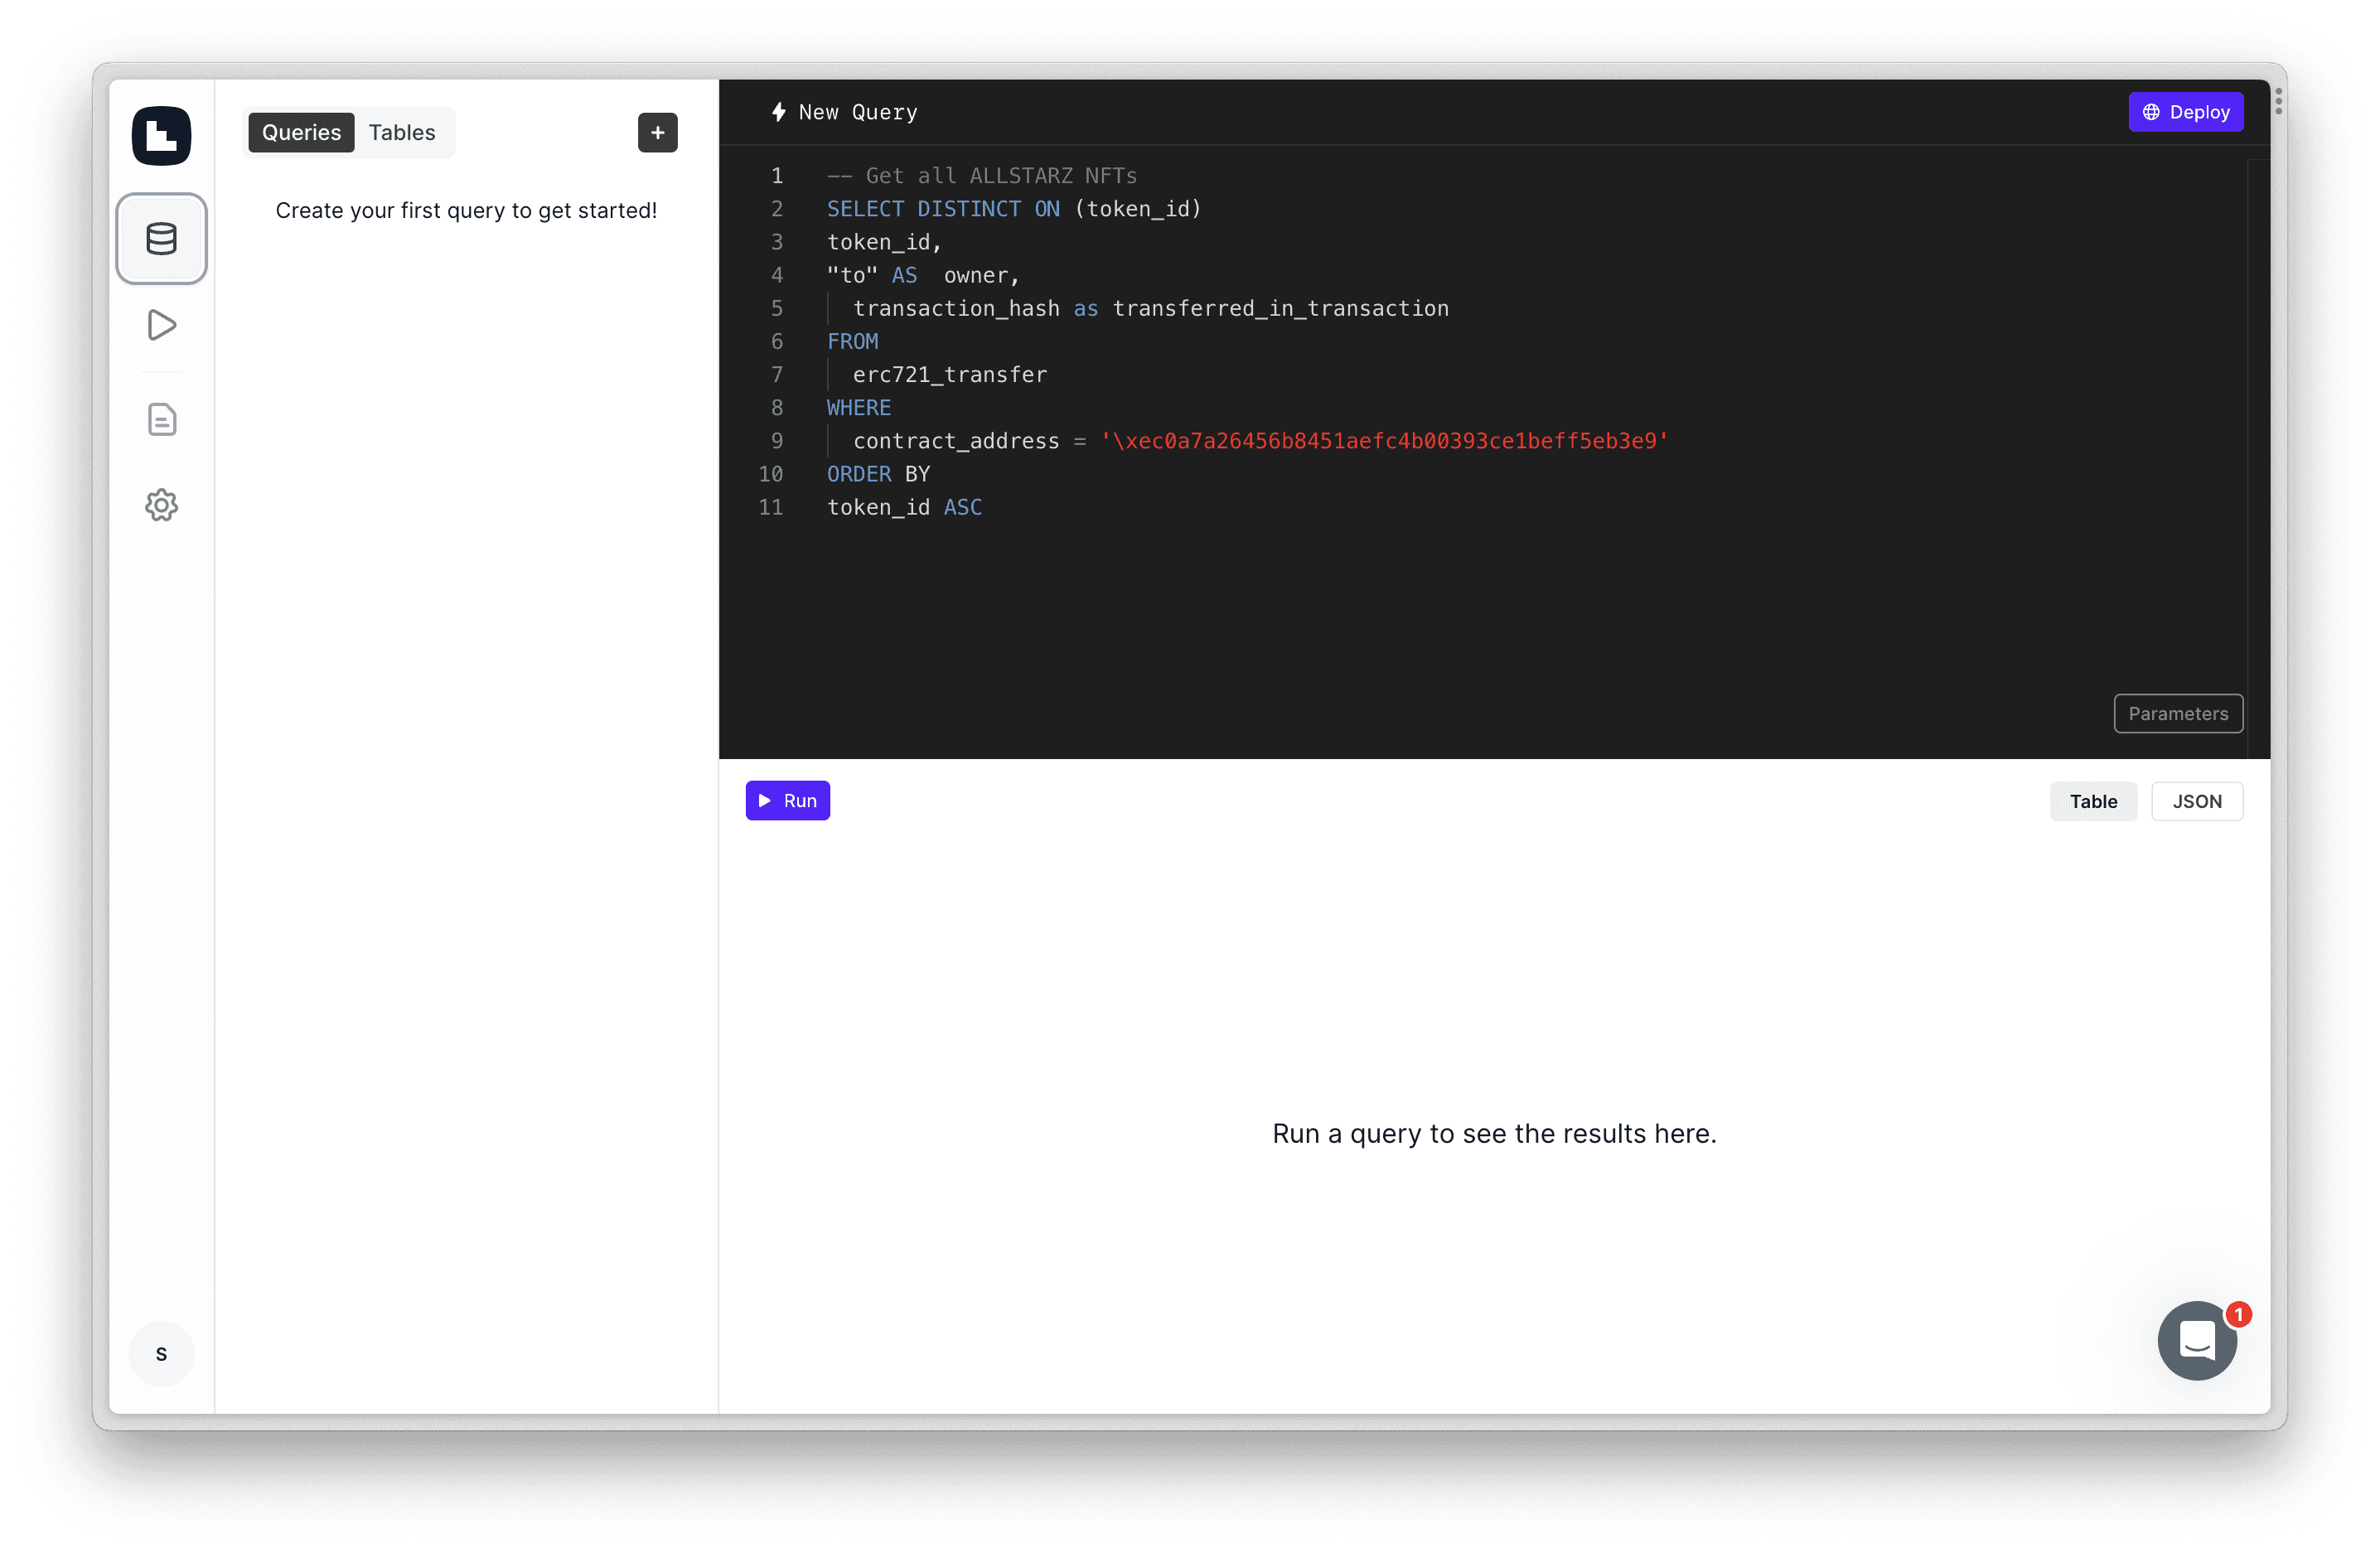
We would be using Basement GraphQL API for our data. Here we have access to a large range of onchain primitives with one simple request. Let's get started:
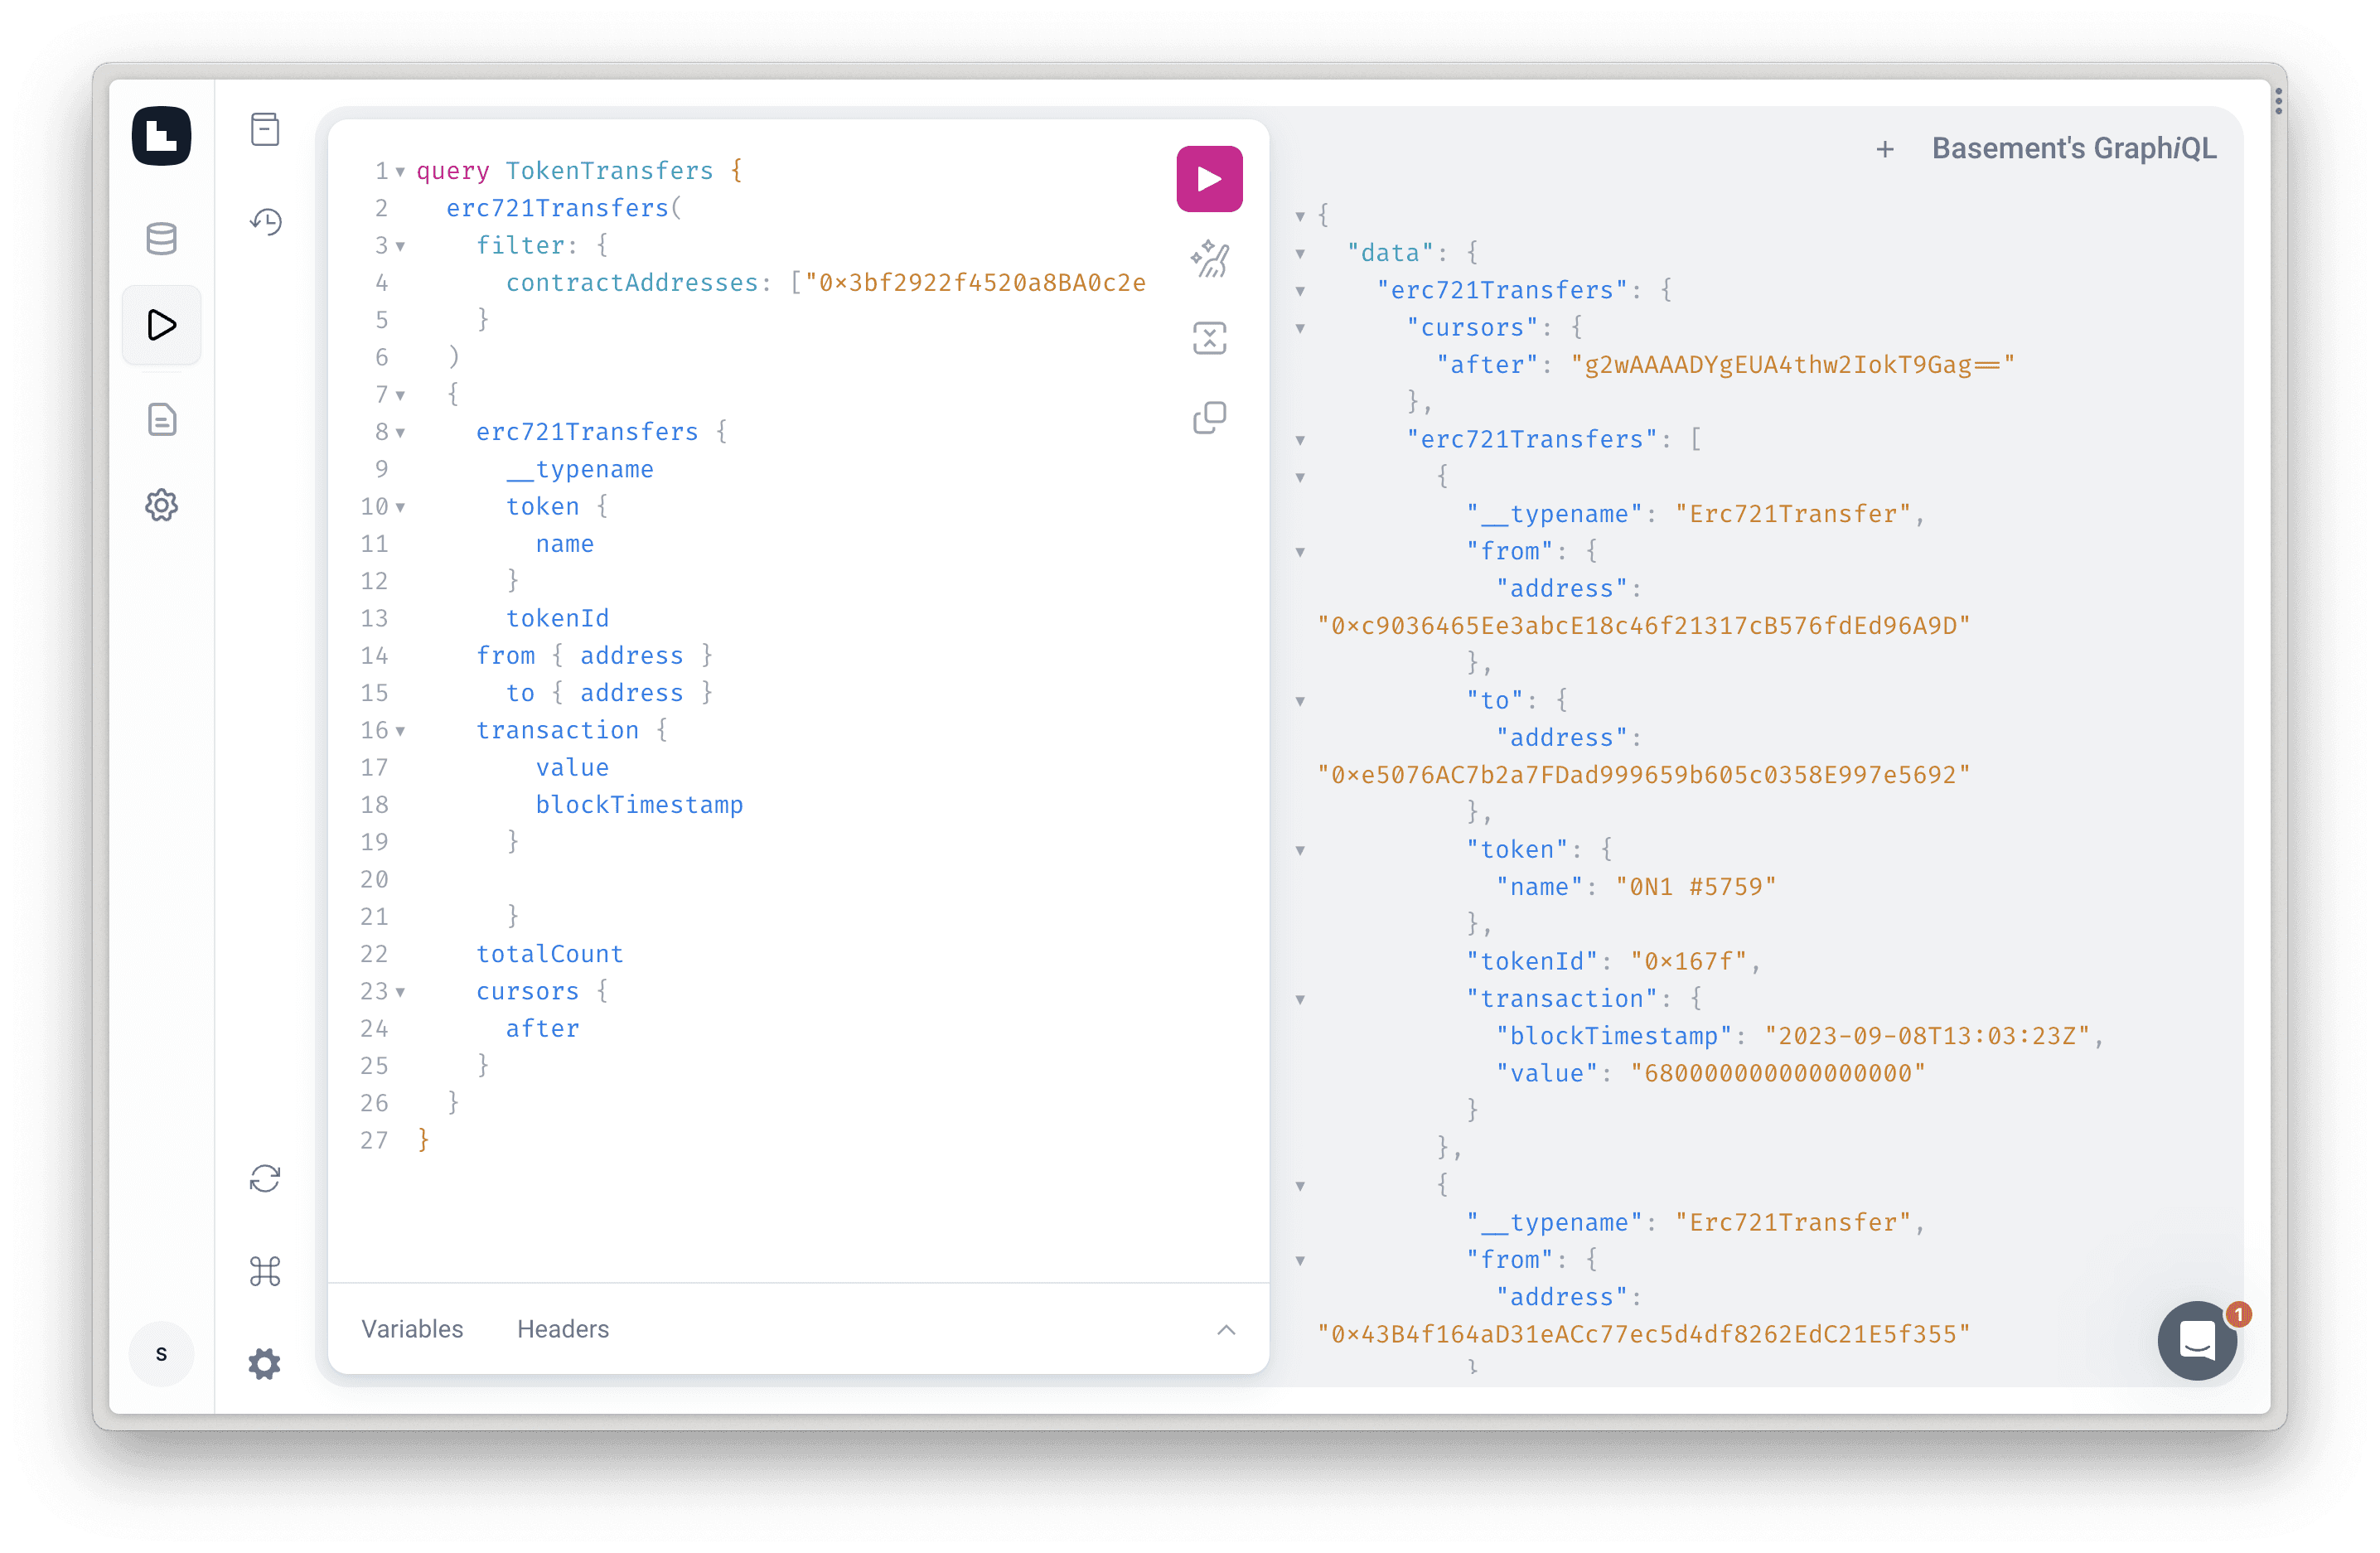
Using the playground provided in the dashboard to test out some of the queries and responses of the GraphQL API, we would take a look at Erc721Token and Erc721Transfer and build out a UI that feeds the information to users and friends.
In the playground, you can enter the following query:
The query will return a response similar to what is shown below:
Note: the response was shortened
The query is requesting information from the erc721transfers dataset, which is part of a larger GraphQL schema. There is a filter argument that filters results based on specific criteria such as the provided contractAddress of the token and the tokenIds
The selection set specifies the fields to be returned for each erc721 token transfer
from { address }: The address of the sender of the token transfer.
to { address }: The address of the recipient of the token transfer.
isAirdrop: A boolean indicating whether the transfer is an airdrop.
sale: Information about any associated sale of the token.
price: The price in Wei paid for the token in the sale.
currencyContract { address }: The address of the currency contract used for the sale.
marketplace: The marketplace where the sale took place.
marketplaceContract { address }: The address of the marketplace contract.
There are additional fields requested:
totalCount: The total count of ERC-721 token transfers that match the filter criteria.
cursors { after }: A cursor for pagination, indicating where to start fetching the next set of results.
Step 2: Writing GraphQL Query for our Activity Feed
We would still be using the 0N1 Force, an NFT collection on Ethereum. Our goal is to track ERC-721 token transfers on the ON1 Force NFT collection.
We are going to query data based on what we want on our frontend client, which is:
_typename: This tells us that it is an ERC721 transfer
name: returns the name of the token in this case - 0N1 #3551, 0N1 #6533
tokenId: which is the unique identifier that distinguishes one NFT from another within a particular collection
from {address}: This returns the address of the sender
to{address}: This returns the address of the receiver
blockTimestamp: gives us the date and time of the transaction in UTC timezone
Go ahead and try the request, we will be using the response to build a simple feed on the client side later
Step 2: Create a React Project
To get started we first need to set up a new React project. The easiest way to do so is to use create-react-app. This script creates a new React project with zero build configuration.
It will take a while to install the packages. After generating the boilerplate, you will see a folder with the name activity-feed has been created. To get started, open this folder in the code editor of your choice.
In the activity-feed app, we will have the following folders and files:
src directory: It has the app.js file, which is the entry point of our app, basically the home page. It also has an index.js file.
public directory: It holds assets. You can place your static files here to load later in the application.
package.json: This file contains the metadata of your project.
package-lock.json: This file is responsible for tracking the exact version of every installed package.
readme.md: It’s a markdown file for documentation.
Next, we initialize the project by running the command below:
The project should run on http://localhost:3000/, In the next section we would build the home page and subsequently work on the activity-feed components.
Step 3: Building the Frontend React Client
Firstly we’ll open app.js and populate with the info below:
import './App.css';
import handleButtonClick from 'react';
We’ll update our app.css file as shown below;
Our http://localhost:3000/ should display the UI as shown below:

This is what the app should look like at this step
Step 4: Setup Apollo Client
We need a way to query GraphQL endpoints in our React application and that is why we need Apollo. Apollo is a GraphQL library. It's a true powerhouse when it comes to state management and in-memory caching in your application. With Apollo, we can accomplish so much more with far less code than we would need in a React Redux project helping to streamline the development process to create efficient, high-performing apps effortlessly.
In your terminal run:
First, set up the Apollo provider to wrap our entire app so that we have access to methods like useQuery and useMutation later on.
Create a file in the top-level directory called apollo-client.js
With Apollo you can bring data to your UI with a single function call. Next We'll initialize a client here with the base URL pointed at the Basement GraphQL API
Next, we’ll create a folder called pages and open a file - index.js and copy the following into it:
With this GraphQL client initialized, we can import it in our App.js file:
The <ApolloProvider> component wraps your entire application to provide it with access to the Apollo Client, and the <Home> component is rendered with certain props, including dataLoaded, which allows the Home component to conditionally handle data based on whether it should be loaded or not. It provides a button that allows for quick updates of onchain data.
Step 5: Update App.css
Lastly, update you app.css file as shown below to give more styling:
And there we have it with an included button that allows us to query onchain data:
Wrap up
All done. Our activity feed app is ready. Like this, you can utilize the remaining endpoints to create a full-fledged NFT Whale tracking application. Find all the code used in building this web app here.
Basement provides access to onchain data through a GraphQL API. GraphQL is a query language which enables developers to retrieve a targeted selection data objects and fields.
By utilizing this feature, developers can efficiently query various onchain primitives with just a single request and no indexing required.
What is Basement?
Basement simplifies onchain data access by providing a standardized API interface across networks. Basement enables developers to retrieve transaction details, track token transfers, monitor smart contract events, and perform complex data analysis across multiple chains
Creating decentralized applications can be quite challenging. The current tools available are not specifically designed to handle the development of performant and real-time applications. As a result, builders often find themselves spending more time on developing indexers and contracts rather than focusing on creating an exceptional user experience. However, Basement aims to address this issue by providing a solution that streamlines the process and enhances the overall experience for builders.
If you have any feedback, feel free to DM us on Twitter. You can always chat with us on our Discord community server, where the team is ready to answer your questions.


